What is OIDC?
OpenID Connect (OIDC) allows your GitHub Actions workflows to access resources in AWS without storing any credentials as long-lived GitHub secrets. This is the most secure authentication method for production environments.
What is OIDC?
OpenID Connect (OIDC) allows your GitHub Actions workflows to access resources in AWS without storing any credentials as long-lived GitHub secrets. This is the most secure authentication method for production environments.
The fastest way to get OIDC working is with our automated tools. Choose your preferred method:
Use our Terraform module to create all AWS resources that Terrateam requires.
main.tf on your workstationmodule "terraform_aws_terrateam_setup" { source = "github.com/terrateamio/terraform-aws-terrateam-setup" github_org = "GITHUB_ORG" # GitHub organization or username aws_policy_arn = "arn:aws:iam::aws:policy/PowerUserAccess" # Suggested policy - customize as needed aws_iam_role_name = "terrateam" create_oidc_provider = true}terraform applyUse the CloudFormation template via AWS CLI:
aws cloudformation create-stack \--stack-name terrateam-setup \--template-url https://terrateam-io-public.s3.us-east-2.amazonaws.com/terrateam-setup-cloudformation.yml \--parameters ParameterKey=GithubOrg,ParameterValue=GITHUB_ORG \ParameterKey=RoleArn,ParameterValue=arn:aws:iam::aws:policy/PowerUserAccess \ParameterKey=CreateGithubOIDCProvider,ParameterValue=true \ParameterKey=RoleName,ParameterValue=terrateam \--capabilities CAPABILITY_NAMED_IAMUse the CloudFormation template through the AWS Console:
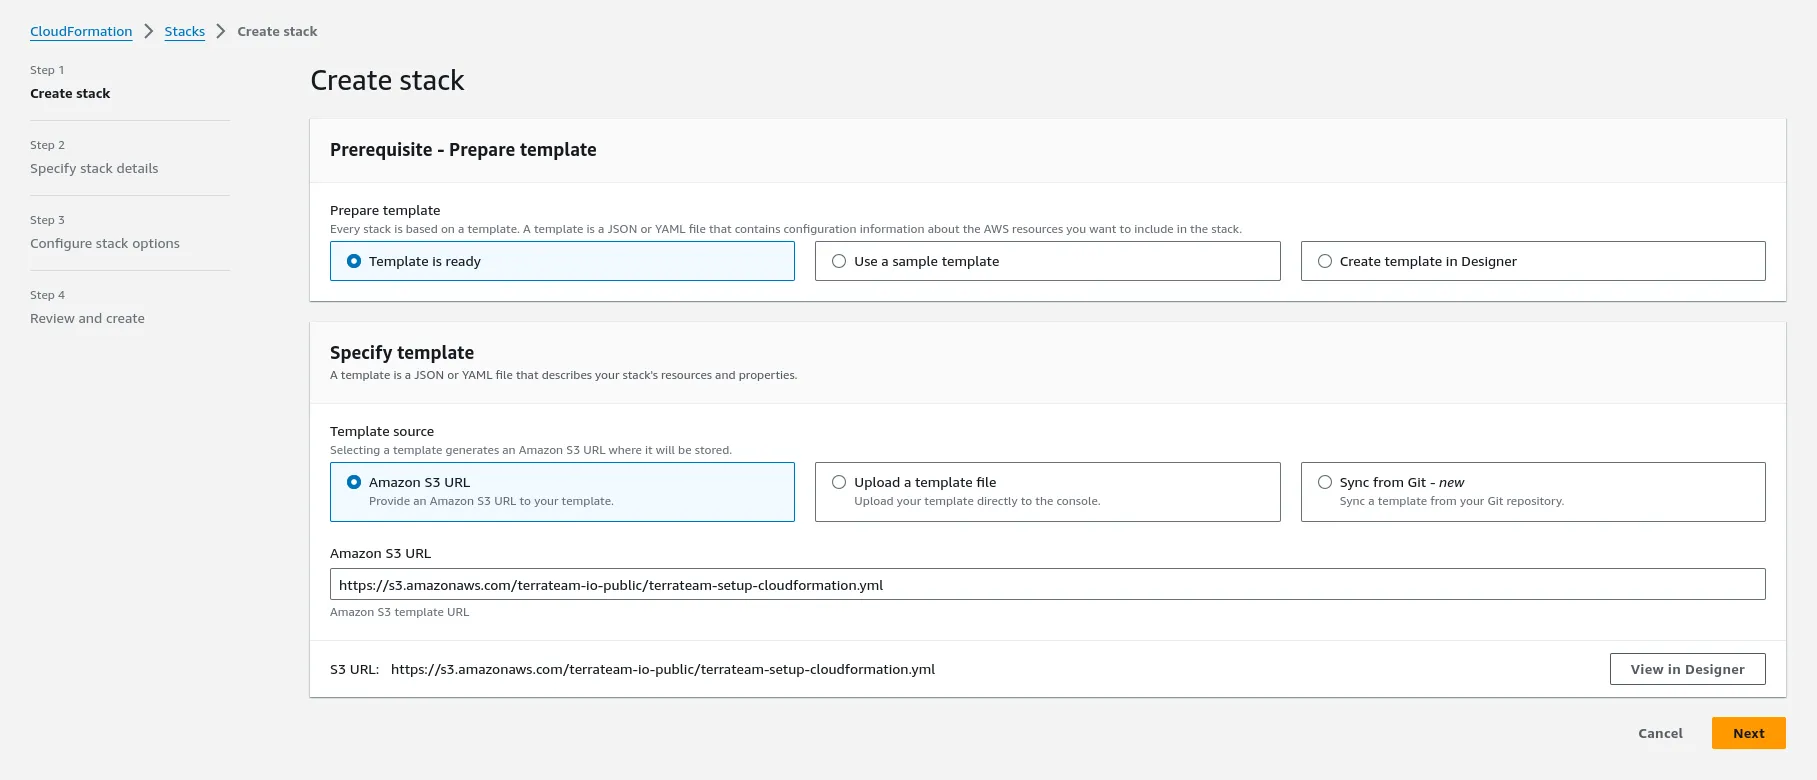
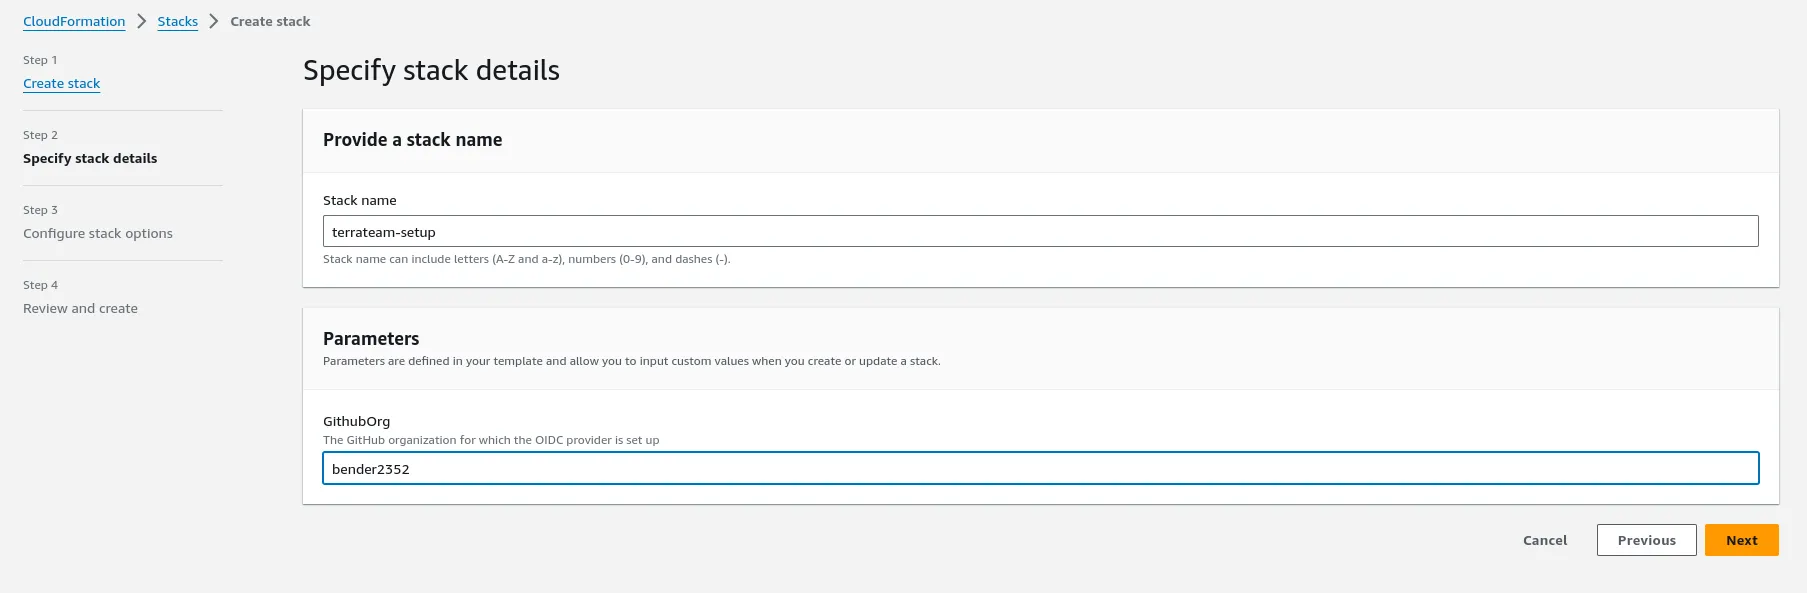
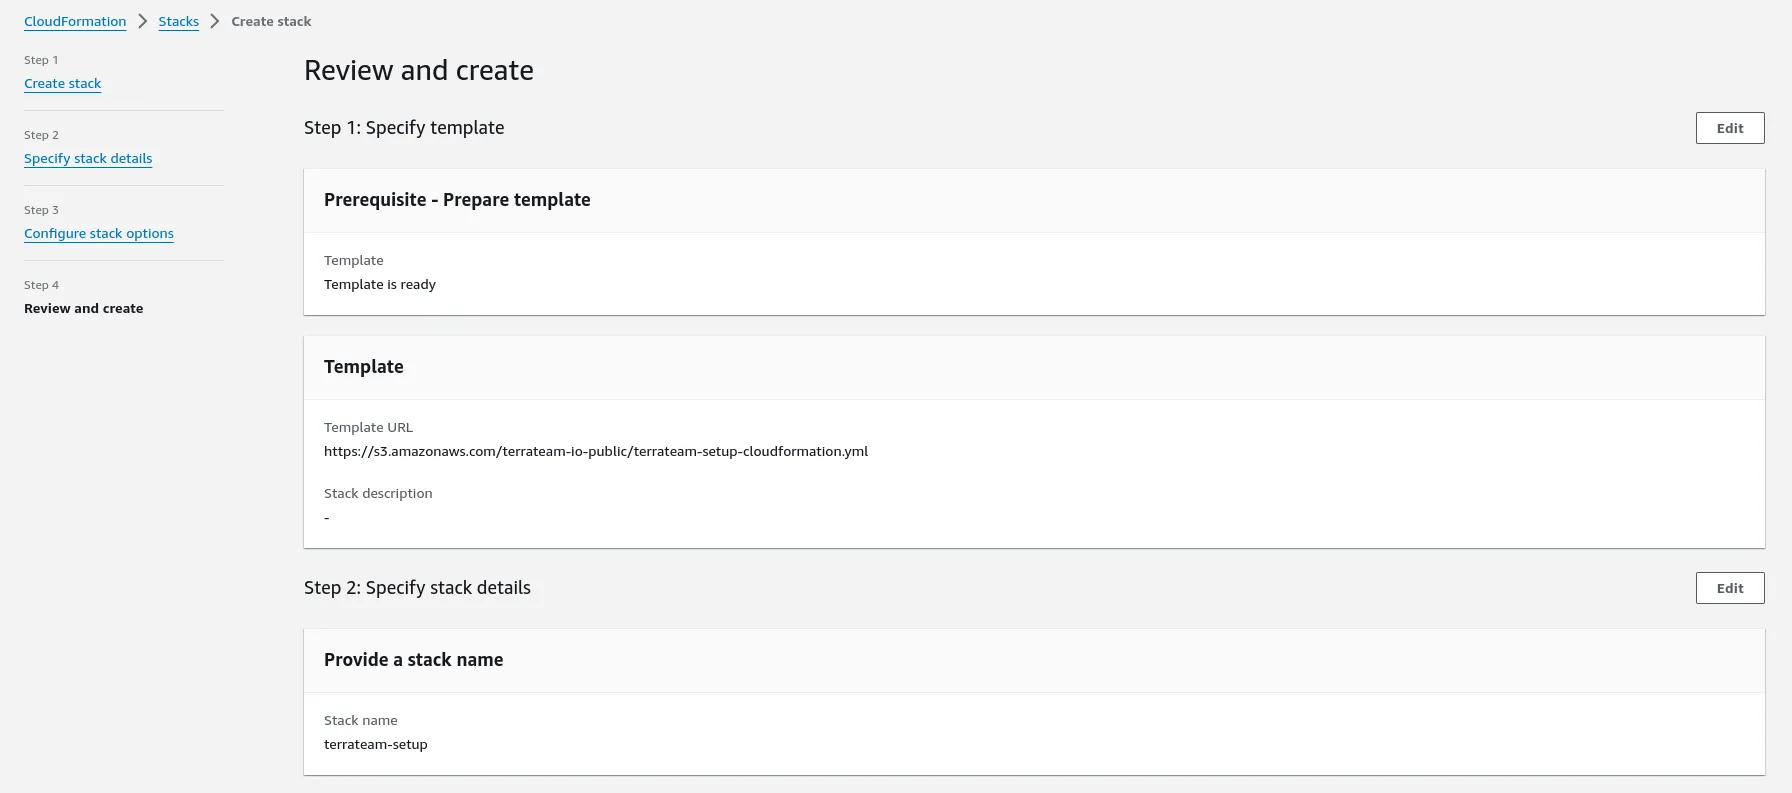
Navigate to CloudFormation in the AWS Console to create the stack.

After setting up AWS resources, configure Terrateam to use OIDC authentication:
Create the .terrateam/config.yml configuration file at the root of your Terraform repository.
hooks: all: pre: - type: oidc provider: aws role_arn: "arn:aws:iam::AWS_ACCOUNT_ID:role/terrateam"For custom configurations or when you need to understand exactly what resources are being created:
Create the OIDC provider in AWS to trust GitHub’s identity provider:
aws iam create-open-id-connect-provider \--url https://token.actions.githubusercontent.com \--client-id-list sts.amazonaws.com \--thumbprint-list 6938fd4d98bab03faadb97b34396831e3780aea1 1c58a3a8518e8759bf075b76b750d4f2df264fcdCreate a local file on your workstation named trustpolicy.json. This defines the policy allowing AWS to trust GitHub’s OIDC as a federated identity.
{ "Version": "2012-10-17", "Statement": [ { "Effect": "Allow", "Principal": { "Federated": "arn:aws:iam::AWS_ACCOUNT_ID:oidc-provider/token.actions.githubusercontent.com" }, "Action": "sts:AssumeRoleWithWebIdentity", "Condition": { "StringLike": { "token.actions.githubusercontent.com:sub": "repo:GITHUB_ORG/*" }, "StringEquals": { "token.actions.githubusercontent.com:aud": "sts.amazonaws.com" } } } ]}Example Trust Policies:
Create the terrateam IAM role using the trust policy:
aws iam create-role \--role-name terrateam \--assume-role-policy-document file://trustpolicy.jsonAttach an IAM policy to give the role necessary permissions. We suggest PowerUserAccess as a starting point:
aws iam attach-role-policy \--policy-arn arn:aws:iam::aws:policy/PowerUserAccess \--role-name terrateamFollow the Configure Terrateam for OIDC section above to complete your setup.
Now that you have AWS authentication configured, you are now able to use Terrateam for plan and apply operations against AWS resources.